Install Metageek Eye P.A. on macOS
The first time I saw Metageek’s Eye P.A. (Presented at WLPC19 by Joel Crane) It reminded me instantly of David McCandless’ ‘Information is Beautiful’ (UK Amazon - US Amazon). I love that book!! It also reminds me of Daisy Disk (an amazing disk space utilisation app). For some reason, I just assumed it would work on a Mac (I mean, what Windows app looks that good?!?!). I was wrong… sort of.
*full disclosure here… I asked Metageek if they’d give me a copy of the software if I wrote a blog for them about installing it on a Mac. This is that post. Hopefully people find it useful!
Metageek only has a Windows version of Eye P.A. however, that doesn’t mean that you can’t use it on a Mac. That’s what I want to show you in this blog.
Coming from an Apple Consultancy background; Windows running in a VM is a staple of my day to day life. Almost all companies (against my wishes) seem to need to keep some sort of random bespoke business management system, or even worse, Sage… (I really dislike Sage). All this to say that I’ve been around the block several times over when it comes to using Virtualisation software on a Mac.

Here’s a free tip (put your wallet away)… Just use Parallels. Honestly… just use Parallels. It’s £33 a year - 9p a day… (so get your wallet back out) for the functionality and hassle-free life, it’s worth it, well worth it! VBox will work (and it’s free) but it won’t be as good. Even the .gif at the top of this post was created using the Parallels Toolbox (a bunch of really useful tools included with Parallels). You’ll see later some extra reasons why I think Parallels is a no brainer (no spoilers).
Okay, so here we go…
What you’ll need:
Apple Computer - This is why I prefer having a MacBook Pro to an Air or just a MacBook. VMs are running an entire OS so it’ll take up a fair chunk of your resources (CPU, RAM, Storage Space). Especially when you’re running a desktop-class OS like Windows (it’s not exactly slimline…).
Windows 10 .iso (disk image)
Windows 10 License (Home version will do and under the terms & conditions with Windows, VMs are able to use OEM licenses!)
Parallels (VM software)
Metageek Eye P.A. (Visual Packet Analyser)
How you use it:
So here is how I set up my MacBook Pro to use Eye P.A. (and it works like a dream BTW)
First thing you’ll see when you load up Parallels is the ‘Installation Assistant’

You can actually download the .ISO directly from here if you already have a license key. If you don’t, you can also buy one directly from Parallels. Just click ‘get Windows 10 from Microsoft’. If you already have the .iso and key you just click ‘Install Windows or other OS from DVD or image file’. If you’re making the move directly from a Windows machine to your shiny new Mac you can hit transfer Windows from a PC (this is awesome by the way).

Depending on how you have your Windows install image choose the corresponding icon. I’ve got the .iso in a Dropbox folder so I’ve just dragged mine onto the window.


Enter your license key on the next screen so you don’t have to actually install windows; Parallels will just do it all for you. (that isn’t a real key, just in case you were wondering…).
On the next screen I tend to use the ‘Design’ presets but then I change them anyway…

Call the machine whatever you want (something descriptive is normally useful 😉)
** Pro Tip** - We use Dropbox Business for my company so we have unlimited space. This means that I always save my VMs (I actually save everything) in Dropbox so they get backed up and I have a version history of the VM. It also means that if I don’t have my machine to hand I can always download it on another machine and use a trial version of parallels. (I also have a WiFi Tools VM of macOS too).** /Pro Tip**
Also make sure you have ‘Customize settings before installation’ ticked. Then hit create.

The next screen we’ll see is the VM’s settings.

Click on to the ‘Hardware’ tab

This is what my machine defaults to. If you have a different machine from me you’ll see something different.

This feels about right for me. I want the VM to be as quick as I can afford to make it. 4 CPU cores and 8GB of RAM seem perfect. Once you’re happy, close the window and you’ll see the final screen before the VM installs Windows.

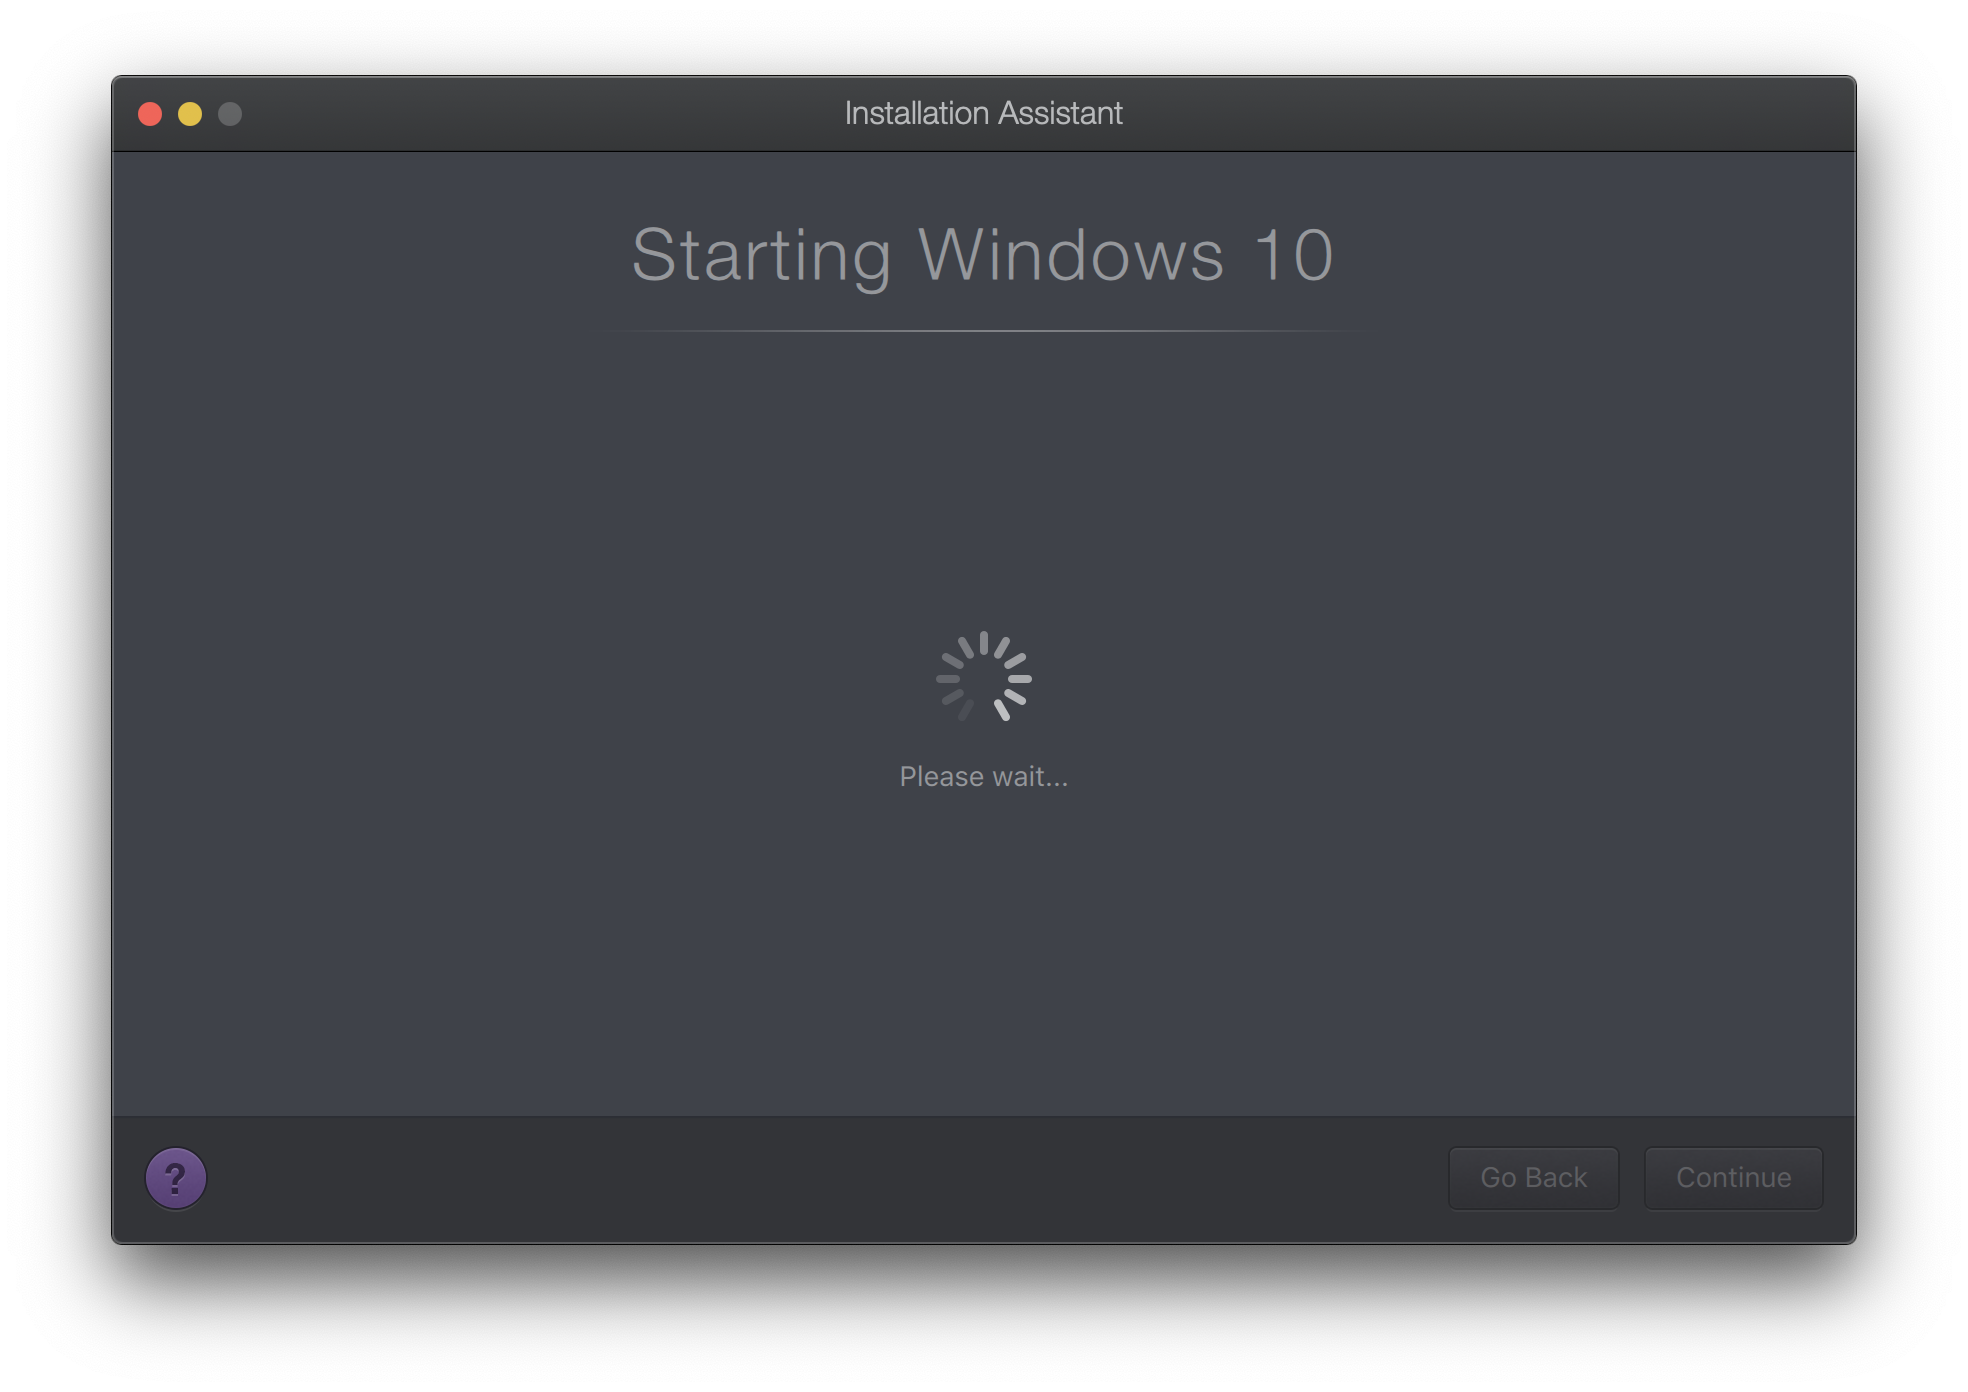
Hit ‘Continue’ and grab a cuppa tea ☕️


Once the install is complete it’ll ask you to ‘click to continue’ then it will take you into a ‘full screen’ version of the VM. Just hover at the top of the screen with your mouse and the menu bar will show. Hit the green button in the top left to make the window smaller (just for now). Time to install parallel tools (if it hasn’t done it automatically, which it should have done).
Head up to the menu bar (the bar at the top of the Mac) and click ‘Actions’ > ‘(Re)Install Parallels Tools’. This will give us access to ‘Coherence Mode’, this is the cool bit. Restart the machine.
Now we need to install Eye P.A.
The great thing about having Parallels and Parallels Tools is that even though the .exe is saved in my Dropbox account (on my Mac) all I have to do is double click the file and Parallels will realise that it’s a Windows executable and open it in my VM. Nice!

Now I really dislike Windows… sorry I just do. So I want to minimise the amount of time I have to deal with it. First thing to do is run Eye P.A.

Okay great, now we want to add the Eye P.A. app icon to the dock on my mac so it’s easy to get to. Pretty simple… Just move it from the ‘recent apps’ section of the dock to the ‘I’m always here’ section of the dock…

From here…

To here!
Then we want to turn on ‘Coherence’ - This basically means that it hides everything ‘Windowsy’ and just shows you the Application you want. So just click the blue ‘circle’ in the upper left of the window.
We now have Eye P.A. (a Windows app) running as if it was a Mac app.

You could end it here and you’d have done a pretty good job (maybe grab another cuppa to celebrate). However, I’d like to share a little extra that I’ve setup.
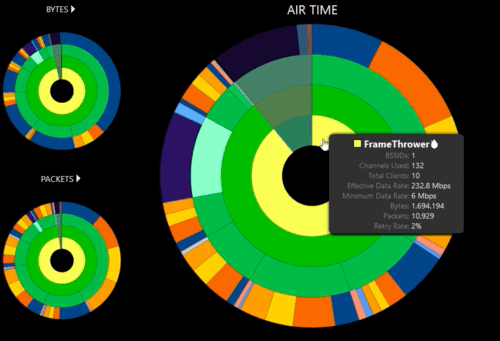
What I love about Eye P.A. is the overview it gives you. How easy it is to quickly filter and see an obvious issue. Therefore, I’d like to get Eye P.A. to open my packet captures from Adrian’s Airtool as soon as I have them. This is how I’ve set it up to do it.
Click on Airtool (it should already be running, why wouldn’t it be running…) and go to ‘Preferences’. Under the ‘General’ tab head down to the ‘After saving capture file:’ option. Click on the dropdown and choose ‘other’. It’ll open up a file dialogue. Head to your user in the sidebar and choose ‘Applications (Parallels)’ > ‘THE-NAME-YOU-GAVE-YOUR-VM’ > Eye P.A. then click ‘select’.

Now you’ll automatically open up Eye P.A. after a capture. From here I’ll filter out what I want to see then, if I need too, I’ll open the results in Wireshark.
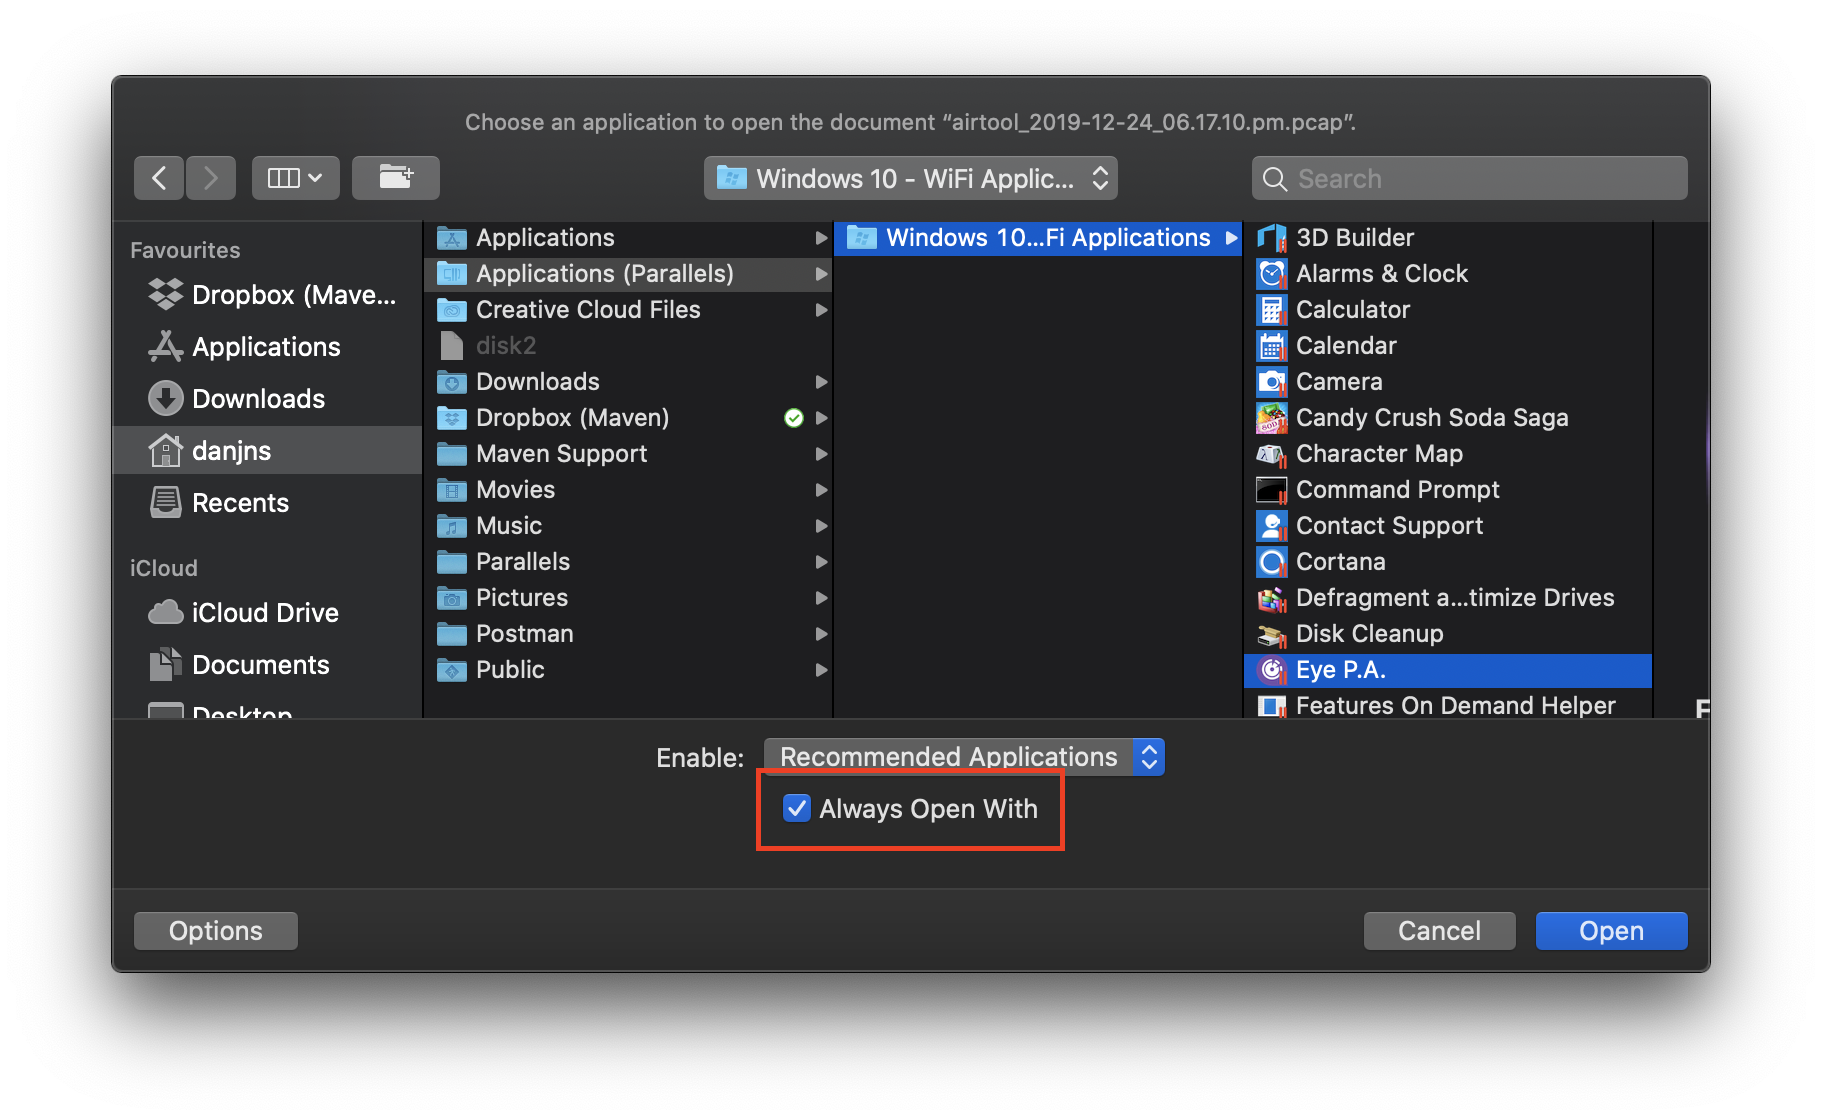
The other nice thing is that you can associate .pcap files with Eye P.A. too so that they open automatically in Eye P.A. when you double click them. Just right-click (or control-click if you still live in the past) a .pcap file select ‘open with’ > ‘Other…’ - then head back to the ‘Eye P.A.’ app in your ‘Applications (Parallels)’ folder like before just make sure you select the ‘Always Open With’ option.
Done. Wasn’t too hard!